Dead Cells Moonflower Key
Layout The Stilt Village is littered with buildings you can enter and climb. Usually there's a shop or treasure at the top of these buildings, but sometimes there's an exit that will let you explore the upper level of the area.
Dead Cells has some secrets to discover. In the Promenade of the Condemned area there are locked doors leading you to the Explosive Crossbow Blueprint. In this guide we show you how to find all the keys to the doors, there are 3 Gardener’s keys in total. Firstly, we explain to you in text form which key where to find, furthermore you will find below a video guide.
To reach the exit, you must first reach the upper level, and then find a door that can't be accessed from the ground level.Enemies The Fog Fjord has one of the most obnoxious enemy sets in the game. Luckily, the fjord is full of exploitable terrain; there's a door to smash around every corner, and most enemies are trapped on their platforms.
| Items of interest | |
|---|---|
| Scrolls of Power | 2 |
| 2-Stat Scrolls | 3 |
| Runes | No |
| Timed Lock Treasure Room | Yes – 19:30 seconds |
| Alternate Exits | 2 - Forgotten Sepulcher and Cavern |
The Graveyard area is accessible from the Insufferable Crypt (Boss) area. It requires the Spider Rune to access.
Overview
This level is set in a dark, purple-tinged graveyard with an ominous red moon overhead. There are a number of zombie/corpse related enemies here including a few that you may not have encountered before. In terms of design, this level is much like the Stilt Village. There are several open doorways found along the main floor of the biome which contains a Timed Lock, a treasure room and an interior containing the Graveyard Key.
The Graveyard Key is required to open a locked building. This allows access to the larger, labyrinthine underground area which is reminiscent of the Prisoners’ Quarters area. This lower area contains the exit leading to the next areas.
As with the other biomes in the game, the Graveyard will be procedurally generated each time you die. The start location and the groupings of some structures remain loosely intact and will feel familiar each time you play the level but everything in between will change. As such, each time you play through, it will be a slightly different map with the same general theme but with alternate locations for enemies, weapons, secrets, shops, and exits. As a full-on walkthrough is a no-no we’ve put together some general information on the zone and its contents:
Enemies
There is a good concentration of enemies in the Graveyard with many types you would not have seen before if this is your first time through the area. For more information on enemies and how to beat them, check out our Enemy Types, Locations and Behaviours section. The enemies here include the following: Pixie hollow fairies create a fairy and fly.
- Catcher
- Masker
- Inquisitor
- Bat
- Kamikaze
- Slasher
- Protector
- Purulent Zombie (Graveyard)
- Corpse Fly (spawned from the Purulent Zombie)
- Cannibal (only with 4 Boss Cells active).
Hazards
In addition to the hostile inhabitants, there are a number of different hazards in the Graveyard zone which can make your passage through a little more difficult. These include a number of traps including:
- Spikes – You’ll find spikes mounted on the ground, ceilings and walls. Touching these will inflict some serious damage, so steer clear! Jump over the spikes on the ground, avoid those on walls and roll beneath ceiling-mounted spikes as required.
- Swinging Spikes – These traps consist of a chain at a central location and a spiked ball rotating around it in a circular fashion. Touching the spiked ball will damage you, so time your platforming jumps to avoid contact.
- Collapsing Platforms – The Ancient Sewer features platforms made up of circular golden discs. These will collapse shortly after stepping on them and as they are often positioned above spikes or yellow death fluid, you’ll need to watch your step.
Events
As with the biome itself, there are several points of interest that can appear in the Promenade of the Condemned biome. As with the other zones, some of these ‘events’ provide useful items, others lead to secret areas but more often than not, they provide a few items to examine that offer nothing of any material interest to our character, but do issue a touch of backstory. Note that they will change each time you enter the Promenade of the Condemned so not all available events may be present each playthrough, but we have tried to list as many as we can find.
- Elite Enemies – Several Elite enemy types can spawn in this dungeon. Kill them for multiple Cells and a Colourless (highest level) weapon/amulet/shield with some useful abilities (reduced damage, extra mid-air jump, etc.)
- Boss Cell Doors: If you are in 1 Boss Cell level or more you can find the Boss Cell doors and find various goodies like: gold chest, cells, gear altar, cursed chest, shops, etc. Be sure to check them out!
- The Well – Occasionally, you’ll come across a well during your adventures. Jump inside the well and then drop through the platform to a secret area below. There is some minor loot to be had here.
- Weak Floor – There is often a section of weak floor somewhere along the main thoroughfare of the level. We can break through this with the Ram Rune to find gold and a weapon.
- Hidden Passage – In the room with the Graveyard Key, there is a small opening in one of the walls that we can roll through to reach a secret area with a trap/grenade.
- Architect’s Key – On the main level of the Graveyard, there is a locked door that requires an Architect’s Key to open. The Architect’s Key can be found in a hidden wall stash in the underground section of the level. This door contains a pair of Blueprints.
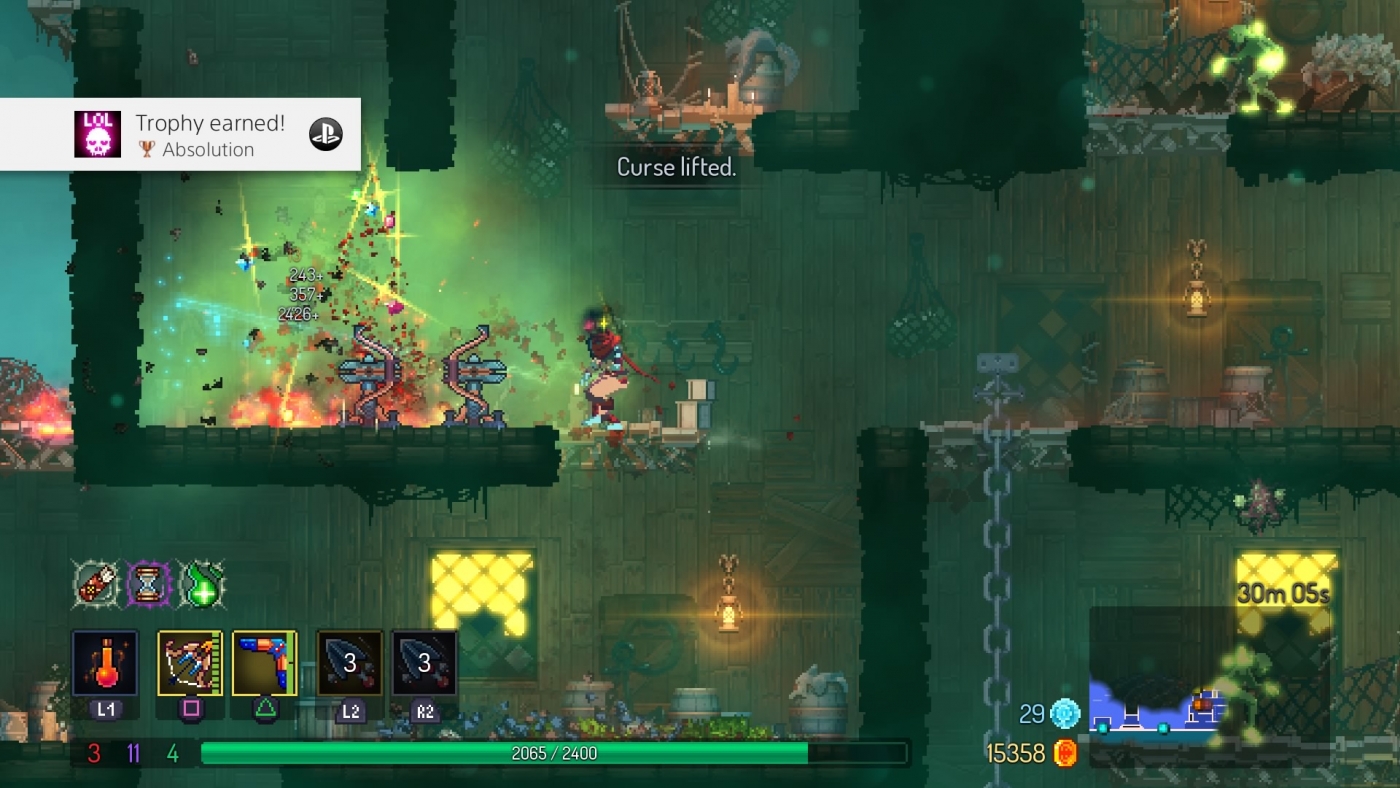
- Moonflower Key - If you have come from the Promenade of the Condemned area and have collected all of the Gardener's Keys and not used them, you can find a secret area in the Graveyard with a lock that can be opened with one of them. This will allow you to pick up one of three Moonflower Keys. There are three of these and they can be used in High Peak Castle to access an area with Blueprint - Acceptance.
Shadowbane instagram. Also if you've been using any automation-type software (auto-posting, auto-liking, auto-liking), I would stop immediately. Sometimes over-using broken hashtags can lead to a shadowban.
Area Blueprints
In addition to the randomly dropped Blueprints that have a chance of appearing throughout the level, there is also a Blueprint that will appear in a hidden area. You can find it in the following location:
- Blueprint: Merchandise Categories – This Blueprint can be found behind the door that requires the Architect’s Key on the upper level of the Graveyard area. The Architect’s Key can be found in a hidden wall stash in the underground section of the level.
- Blueprint: Parting Gift – This Blueprint can be found in a hidden area above the locked door that requires the Architect’s Key. It is however stuck behind a locked door. After looting the Blueprint: Merchandise Categories, jump through the roof on the far right of the room to find a pressure plate. This will open the door to this Blueprint.
Exits
The Graveyard only has two exits point used to reach the next biomes. These exits is:
• Forgotten Sepulcher – This requires no special Runes.
- Cavern - While this exit does not require any rune to access you will need to have beaten the game at least once and get the key at the beginning of the game.